⚡️ Event photography flash doesn't have to be terrifying. After 3,000+ events, I've learned that most flash problems come from two things: shooting in the wrong mode and pointing the flash at the wrong surface. This guide breaks down the exact flash techniques I use at every event... no jargon, no gear worship, just the stuff that actually helps in a real room.
Why Flash Scares Beginner Event Photographers
Most beginners pick up a flash and immediately overthink it. They've heard about TTL, manual mode, high-speed sync, and guide numbers — and they freeze. The truth is, at real events, you only need to understand one thing: where is your light going? That is the whole game.
1. Bounce Off the Ceiling (Your Default Move)
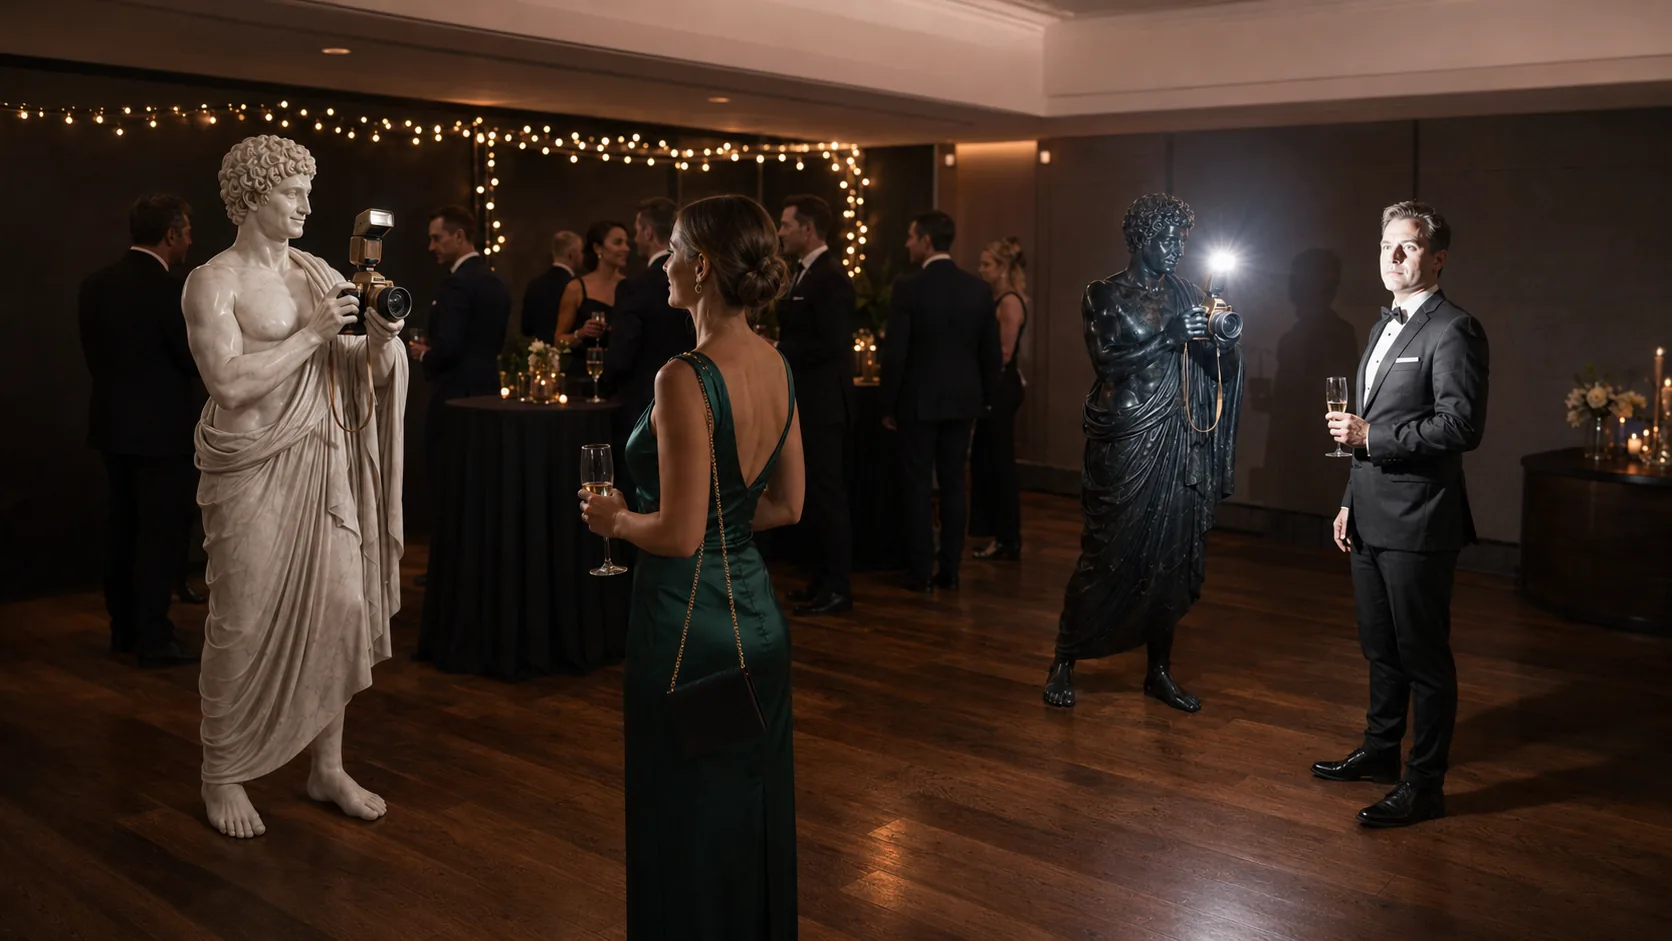
Point your flash head up at a 45-75 degree angle. The ceiling becomes a giant softbox. This works in 80% of indoor event venues. The light wraps around your subject's face instead of flattening it. Check that the ceiling is white or neutral... because the moment you bounce into colour, the room starts painting your people for you.
2. Read the Room Before You Shoot
If you take one thing from this section, it's this: ceiling bounce is your default, not your only move. Once you can do that reliably, the rest of flash becomes creative, not scary.
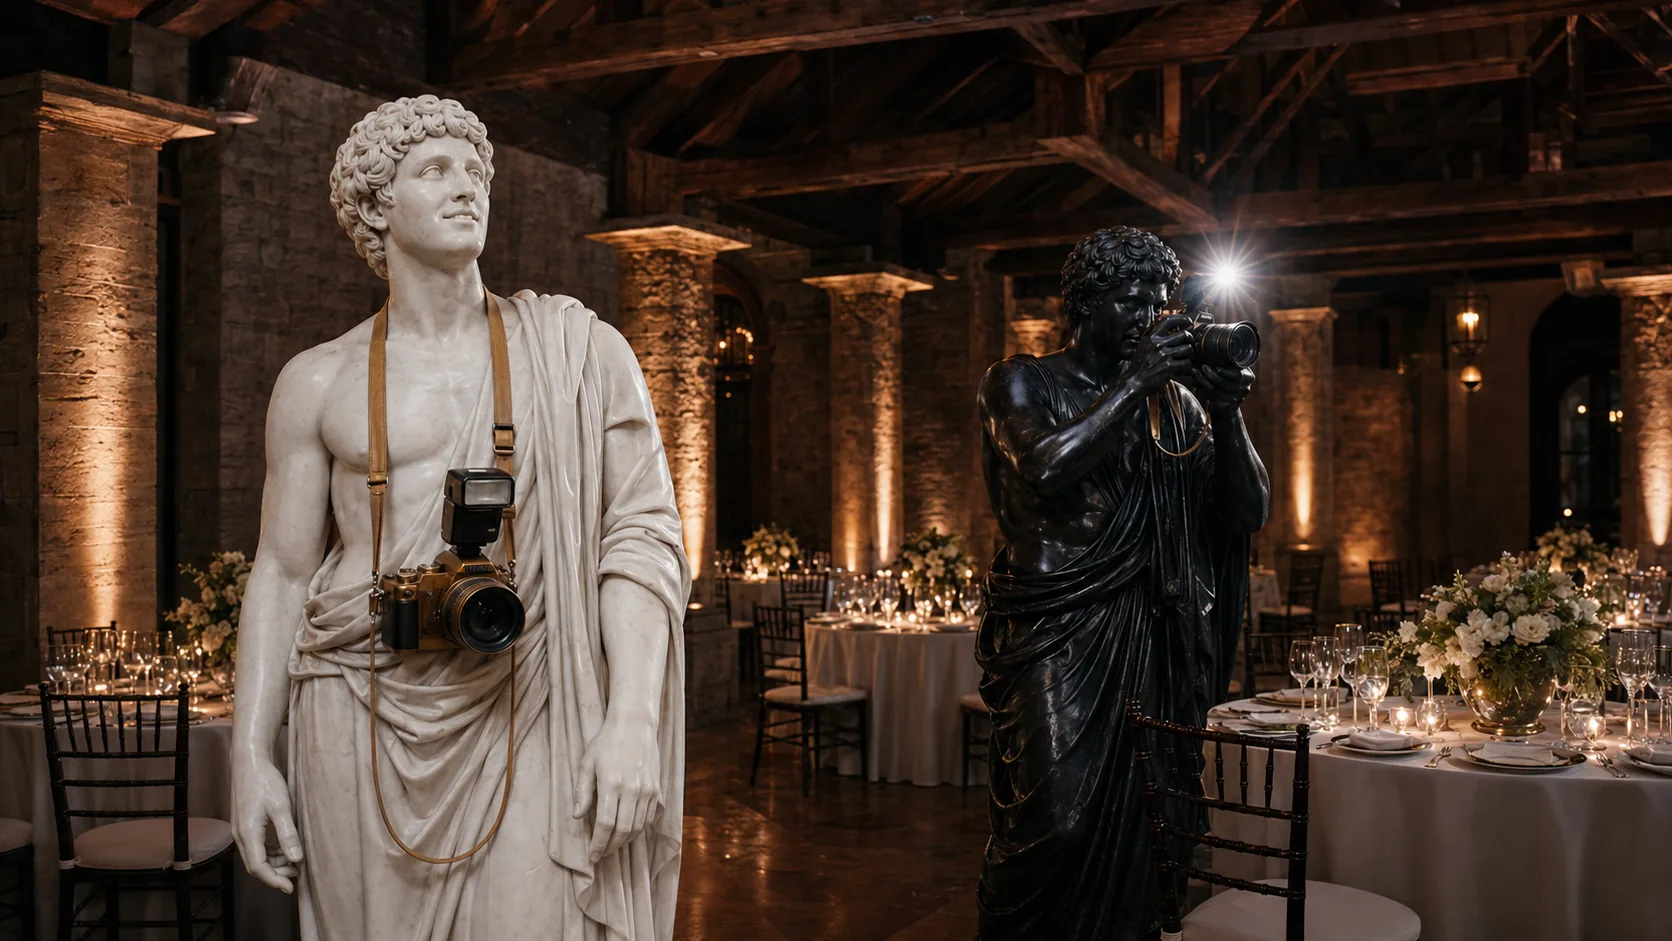
Walk in. Look up. What colour is the ceiling? How high is it? Are there walls nearby you can bounce off? That 10-second scan tells you almost everything about how your flash will behave in that specific room. 👀
The moment you walk into a venue, before you unpack your gear, look at the ceiling. High, dark, or coloured ceilings mean you need a different bounce strategy — or no bounce at all.
3. Start with TTL, Then Switch to Manual
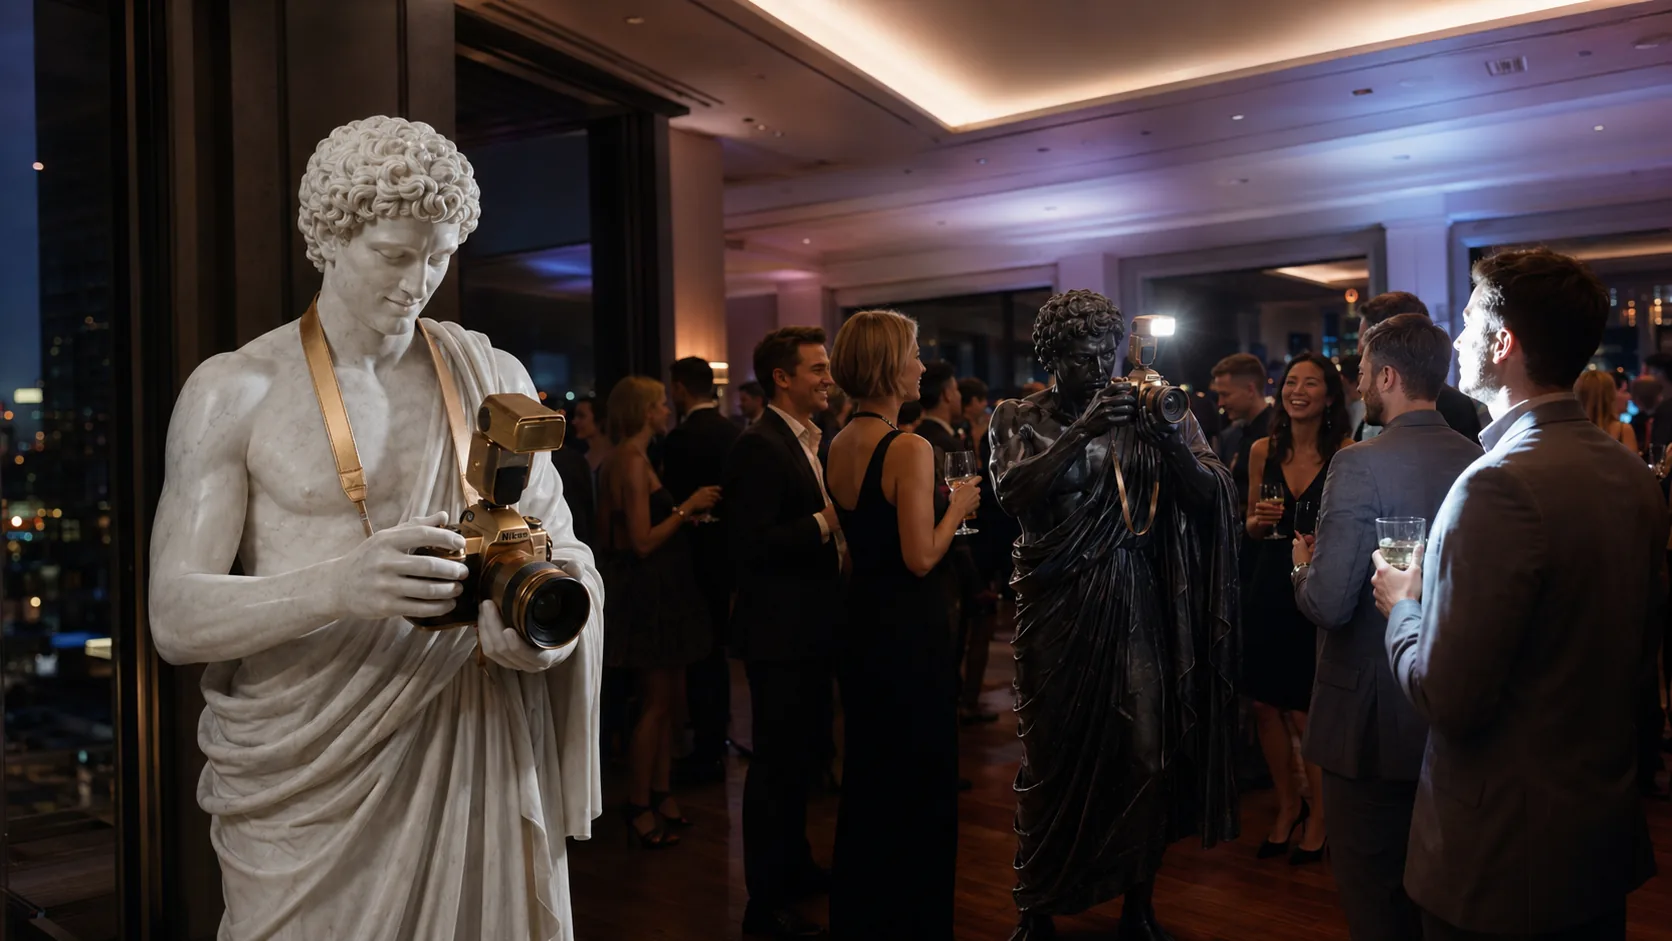
TTL (Through The Lens) flash metering is your robot assistant — it fires a pre-flash, measures the reflection, and sets the power for you. Use it for the first 15 minutes at an event while you get a feel for the room. But TTL gets fooled by dark suits, bright screens, and white tablecloths... which is why blind trust in TTL becomes its own little headache.
Once you've taken a few test shots and found your baseline, switch to manual flash and lock it in. Manual flash is repeatable. TTL is a guess. At events, you want repeatable.
Do this: Shoot TTL for the first few shots of the night. Check the histogram. Find the flash exposure compensation that works. Then switch to manual at that power level and leave it there.
4. The Blanket: Bounce Off Walls, Not Just Ceilails
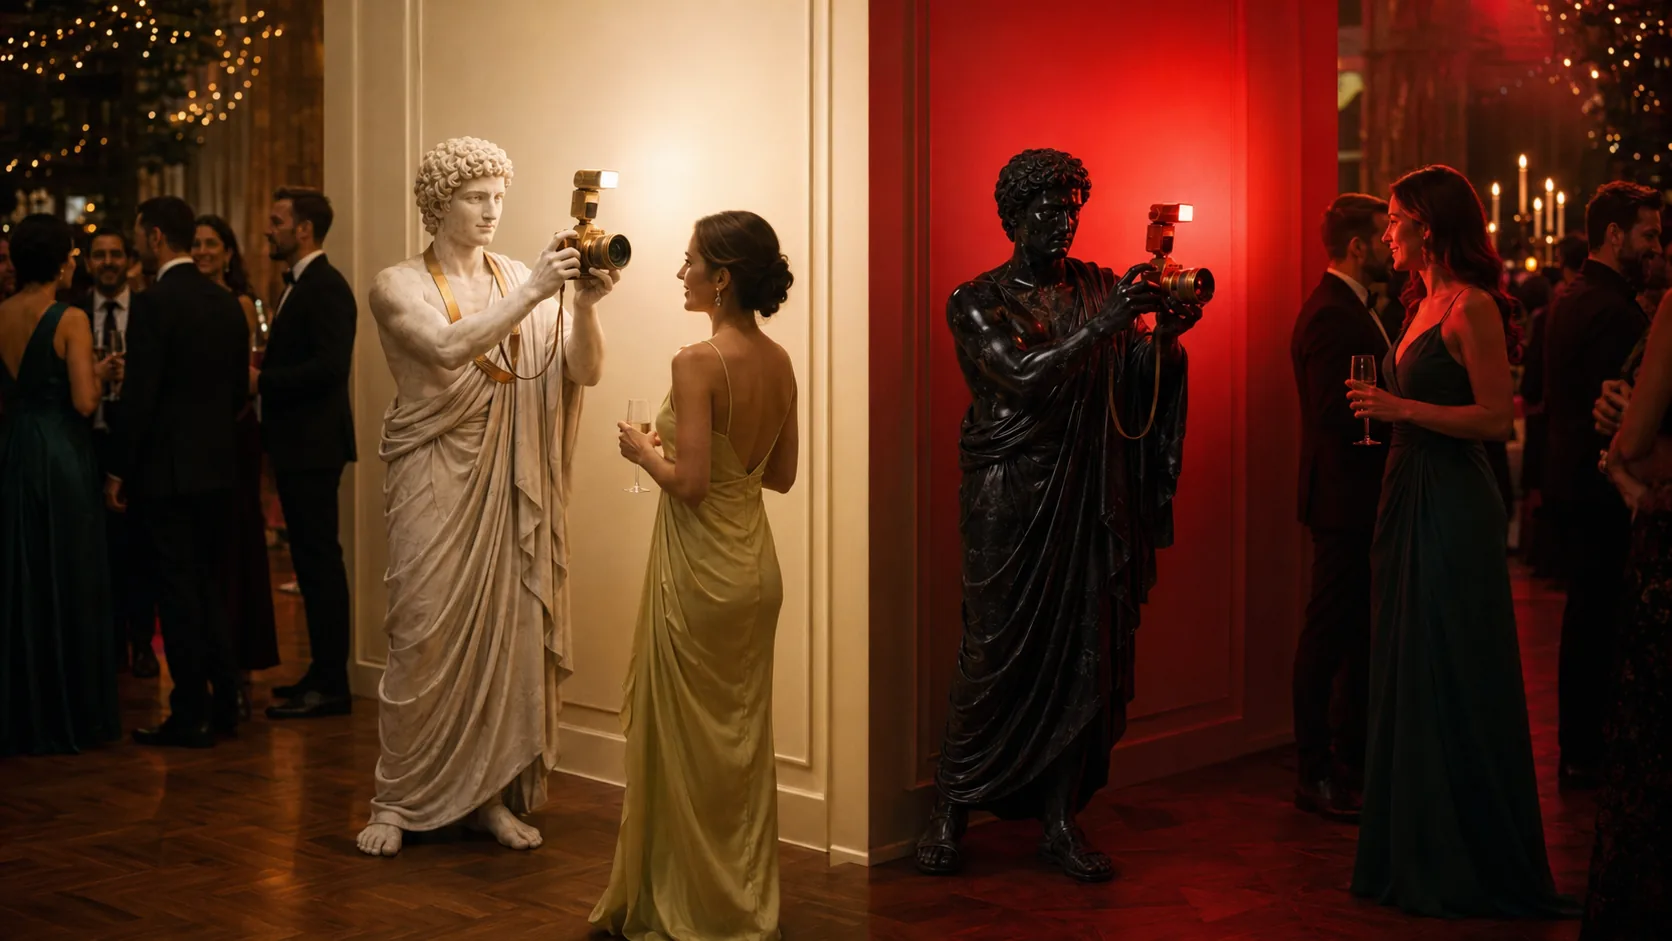
The book calls bounce flash "throwing a blanket of light." When you bounce off a wall to your left, the light wraps across the room like a blanket being draped over your subjects. It's directional, warm, and dimensional — the opposite of flat ceiling bounce.
Rotate your flash head 90 degrees to camera-left or camera-right. Find a wall within 2-3 metres. The light bounces off the wall and rakes across faces, creating shadows that give shape and depth. This is where event photography starts looking professional.
Avoid: Bouncing off coloured walls. A red wall makes everyone look sunburned. A blue wall makes them look cold. Stick to white or neutral surfaces.
5. Drag-and-Burn: Let the Ambient Light In
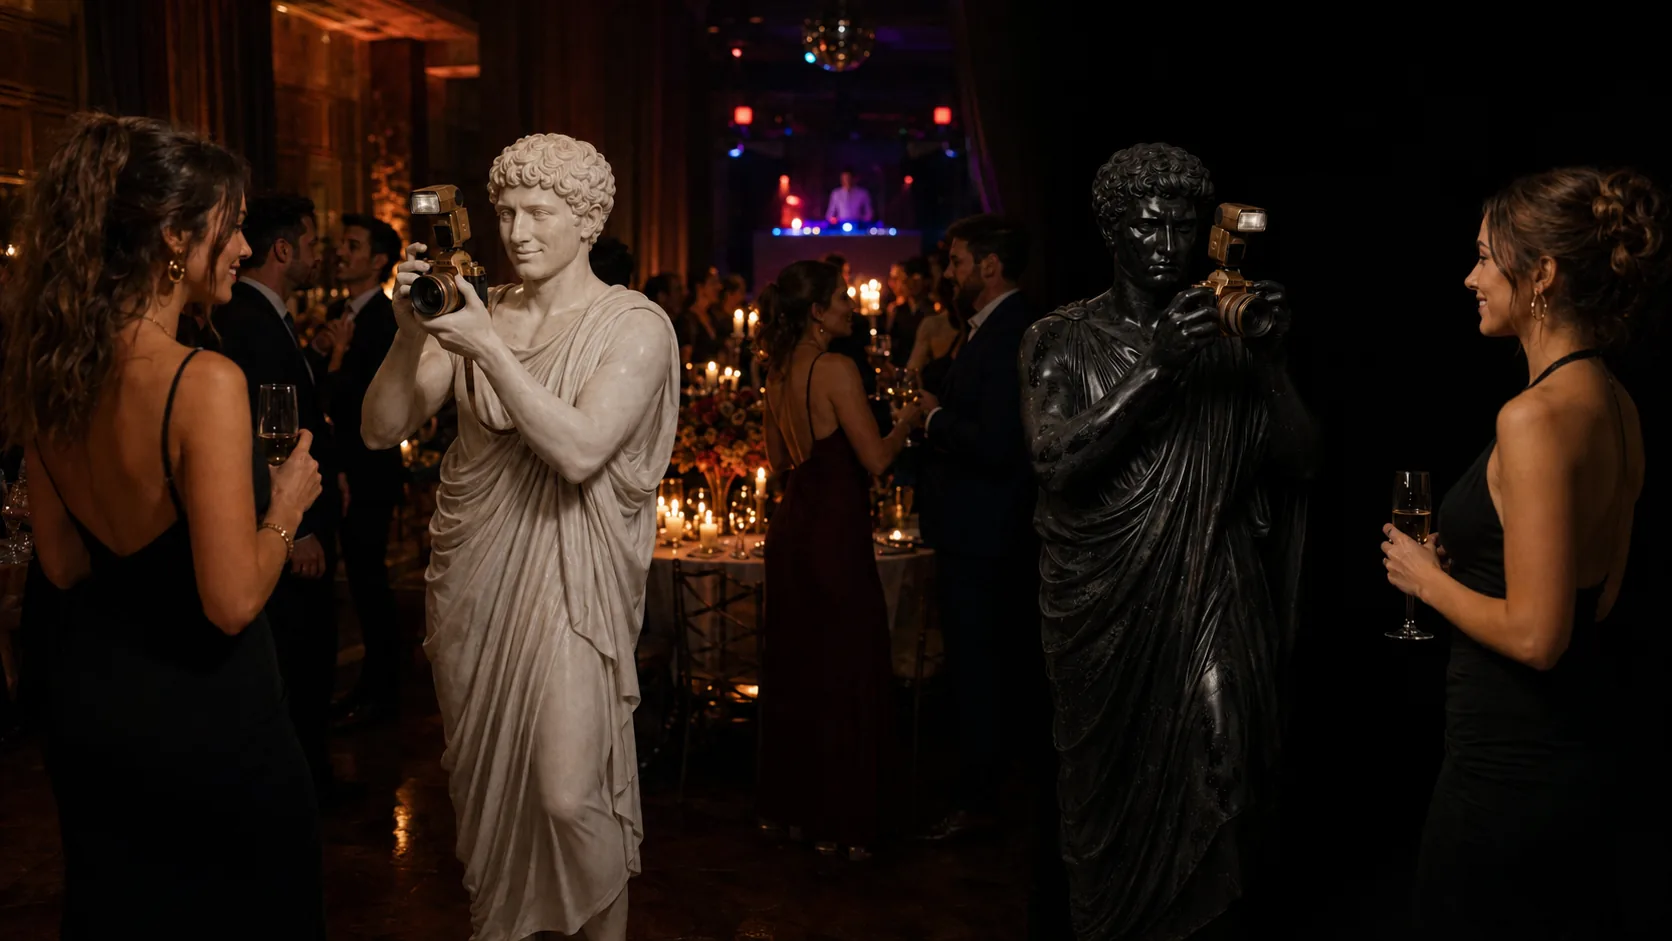
Drag-and-burn means dragging your shutter — slowing it to 1/30s or even 1/8s — while your flash fires. The flash freezes the subject, and the slow shutter captures the warm ambient light in the background. The result: your subject is sharp, the room glows, and the photo has depth instead of a black hole behind every person.
This is the single biggest upgrade a beginner can make. Start at 1/30s, check your background, and adjust from there. Too blurry? Speed up to 1/60s. Too dark behind? Slow down to 1/15s... nice and simple.
Settings to try: Shutter 1/30s, Aperture f/4, ISO 1600, Flash on TTL to start. Adjust shutter speed to control how bright the background looks.
6. The Cocktail: Mix Ambient and Flash
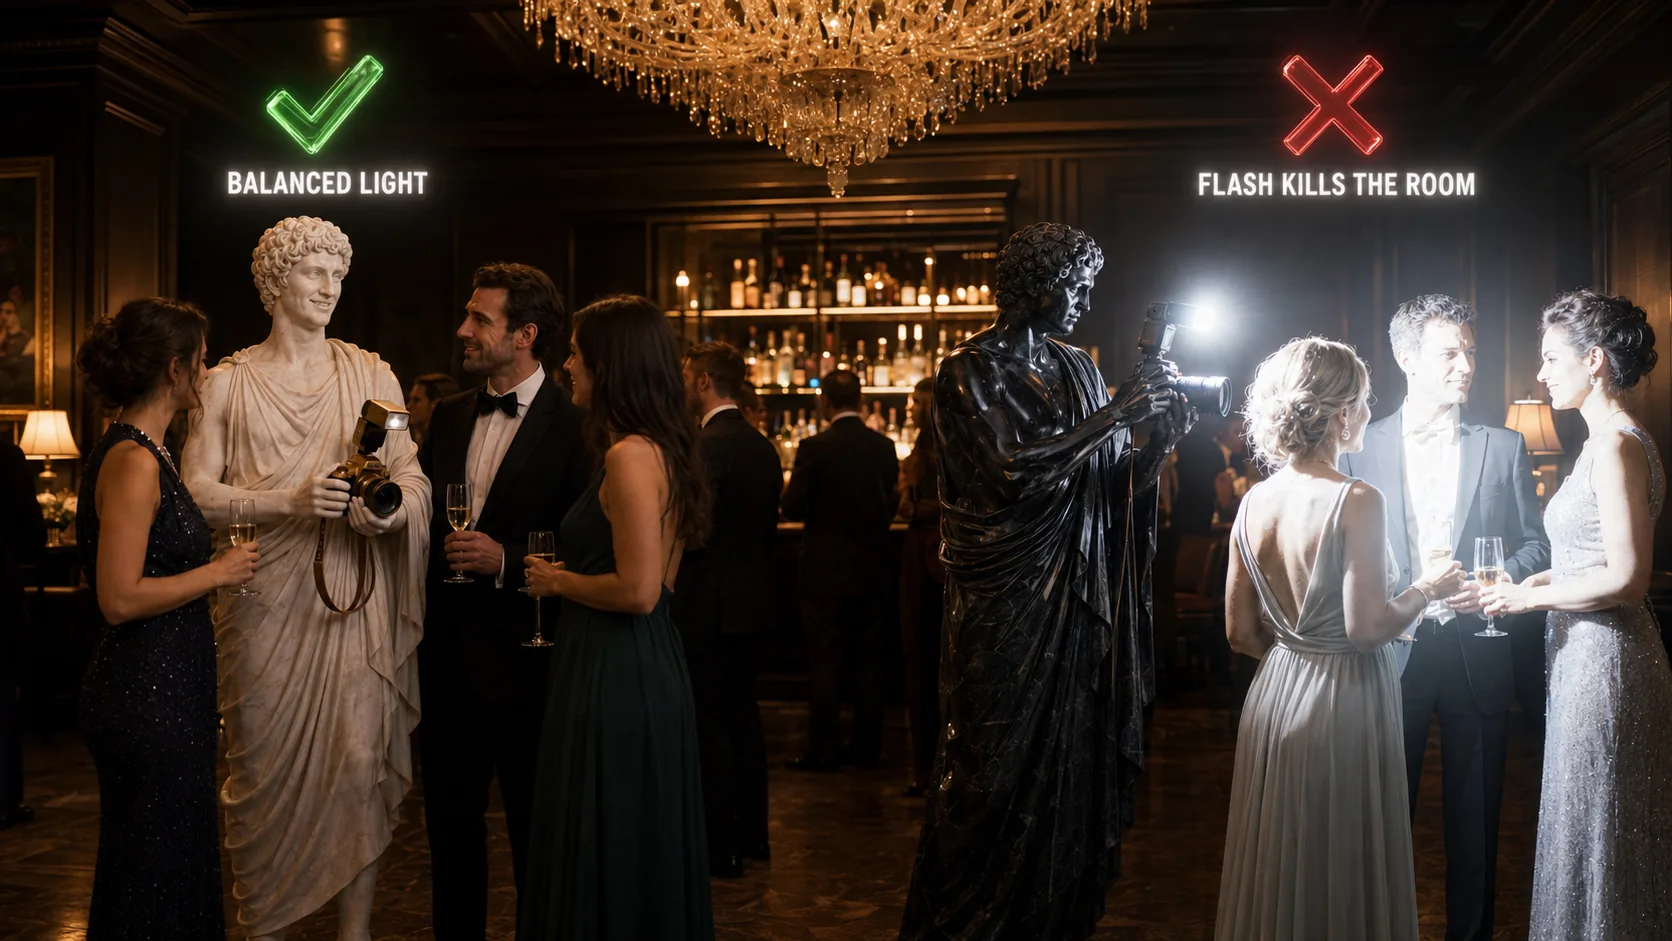
The book teaches flash as a cocktail. Ambient light is your base spirit — the room's existing mood. Flash is your mixer — the controlled splash that shapes the drink. Too much flash and you've drowned the cocktail. Too little and it's weak and flat. You are not trying to erase the room. You are trying to season it.
The goal is balance. Your flash should feel like it belongs in the room, not like it invaded from outside. When someone looks at the photo, they shouldn't be able to tell where the flash ended and the ambient began.
7. Test, Test, Test — Before the Guests Arrive
The biggest mistake beginners make is not testing. They walk into a venue, start shooting when guests arrive, and hope for the best. By the time they realise the flash is too bright or the white balance is off, the moment is gone... and now the pressure is doing laps around your brain.
Test before anyone arrives. Shoot the empty room. Check your histogram. Adjust flash compensation. Lock in your white balance. When the guests walk in, you're not fumbling — you're confident.
The 5-minute pre-event checklist: Test flash on a wall → check histogram → set white balance → confirm TTL/manual choice → take a portrait of the empty room and review it on the back of the camera.
Flash Doesn't Have to Be Scary
Every event photographer who's confident with flash started exactly where you are — intimidated by the technical jargon and afraid of blowing out someone's face. The difference between flash anxiety and flash confidence isn't talent. It's understanding the cocktail (ambient + flash), the blanket (bounce direction), and the room (what surfaces you're working with). That is where calm starts.
Master those three ideas and you've got 80% of what matters at real events. The rest is practice... and a few honest test shots before the pressure hits. 📸