⚡️ Most beginner bounce flash problems are not power problems. They are direction problems. The flash is technically bouncing, but it is bouncing badly — straight up, straight down, and straight into tired eye sockets. That is how you get the hollow, raccoon-eye look that makes a perfectly nice guest look exhausted... and you are left staring at the back of the camera wondering what on earth just happened.
The right angle makes all the difference. Where you point the flash head matters more than how powerful your flash is.
Why Bounce Flash Still Looks Bad for Beginners
Beginners hear that bounce flash is soft, so they point the flash at the ceiling and assume the job is done. But soft is not the same as flattering. If the light returns from directly above, it digs darkness into the eyes and under the nose. The face gets softer, yes... but it does not get kinder. That is the trap.
Be careful: bounce flash can still look ugly when the return path is wrong. Soft light with bad direction is still bad light. ⚠️
The Money Angle 🎯
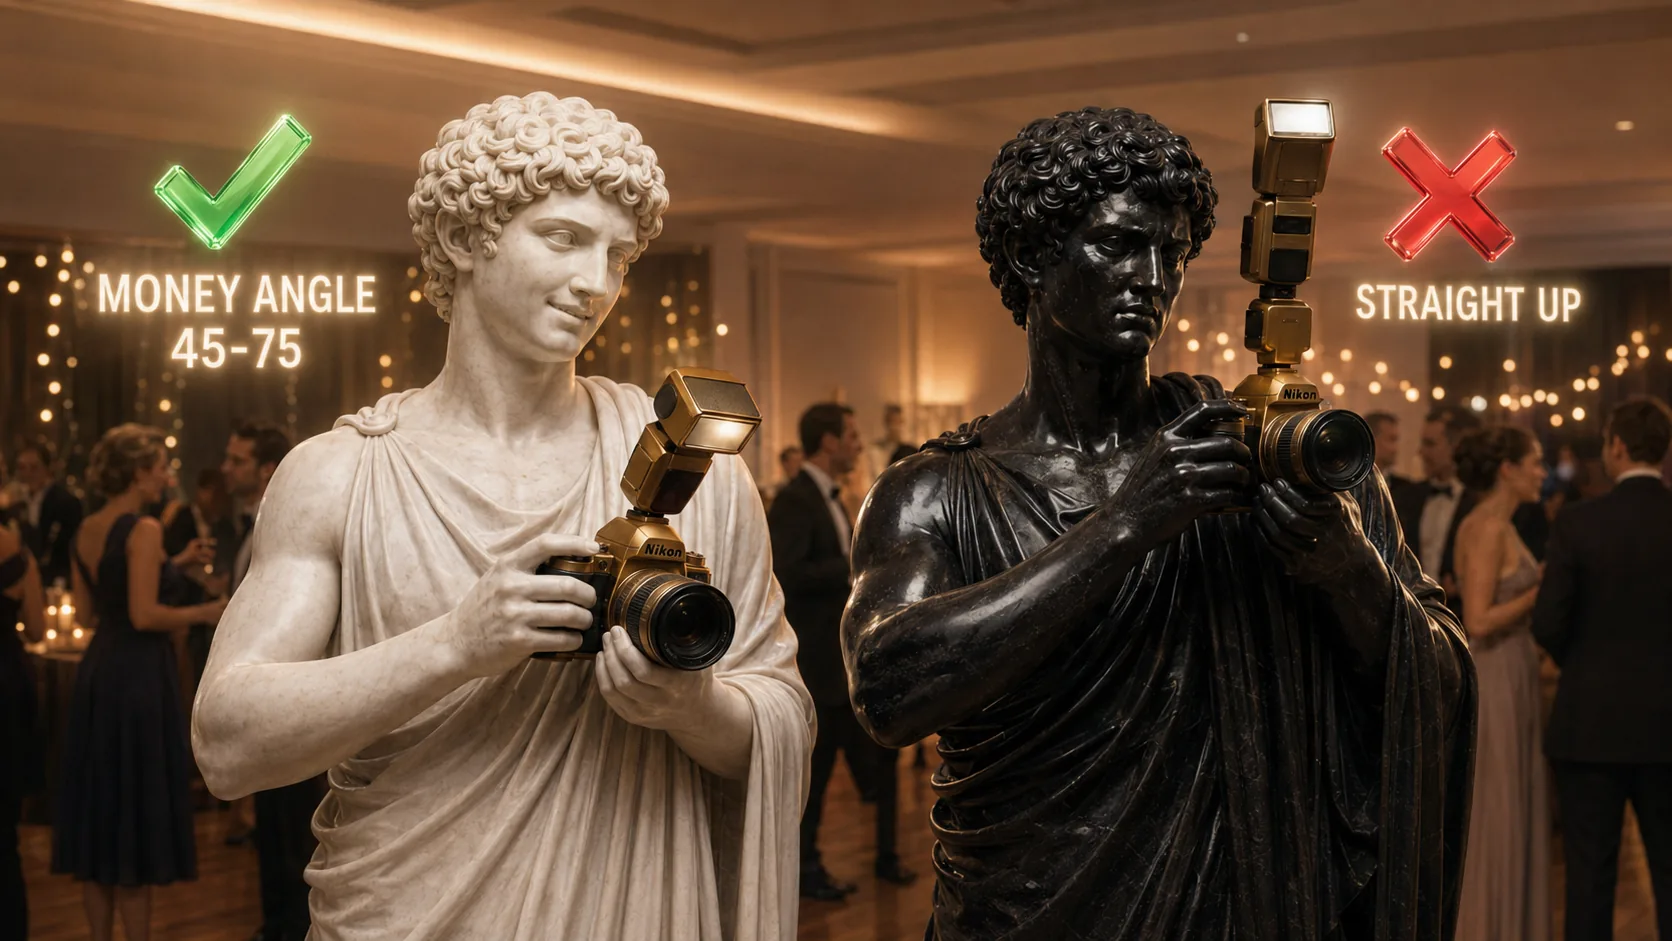
The clean default is what EP101 calls the money angle: bounce slightly forward, not straight up. You want the light to hit a ceiling or wall in front of the subject and return with a gentle downward wrap. That gives you softness and shape... which is why one photo feels polished and the other feels weirdly tired. Same flash. Different path.
- tilt the flash up, but not vertically
- push/pull the bounce slightly forward/backward
- aim for a white or neutral surface
- check the first face you shoot, especially the eyes 👀
When Bounce Is the Wrong Move 🚫
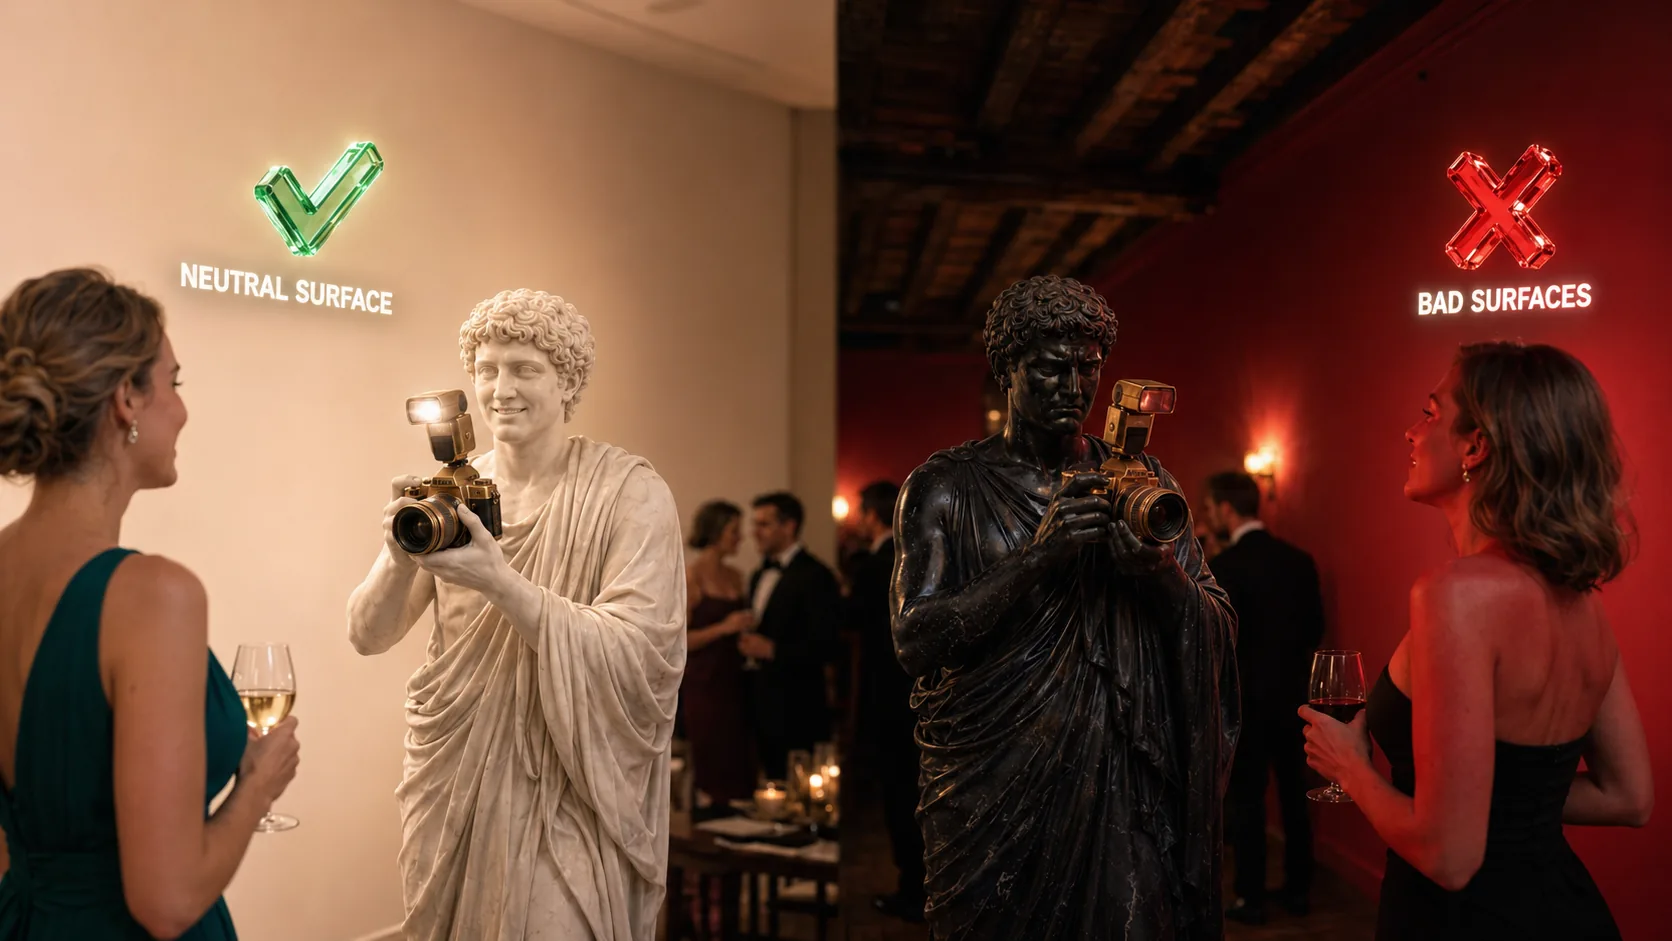
If the ceiling is black, the wall is red, or the venue is outdoors, stop trying to force bounce because the internet told you bounce is always better. It is not. A bad bounce is worse than deliberate direct flash. The room gets a vote... and sometimes the room says no. Listen to it.
Avoid: bouncing off coloured walls and ceilings unless you enjoy fixing ugly skin tone for the rest of the night. Bad surfaces paint people. 🎨
The 10-Second Test
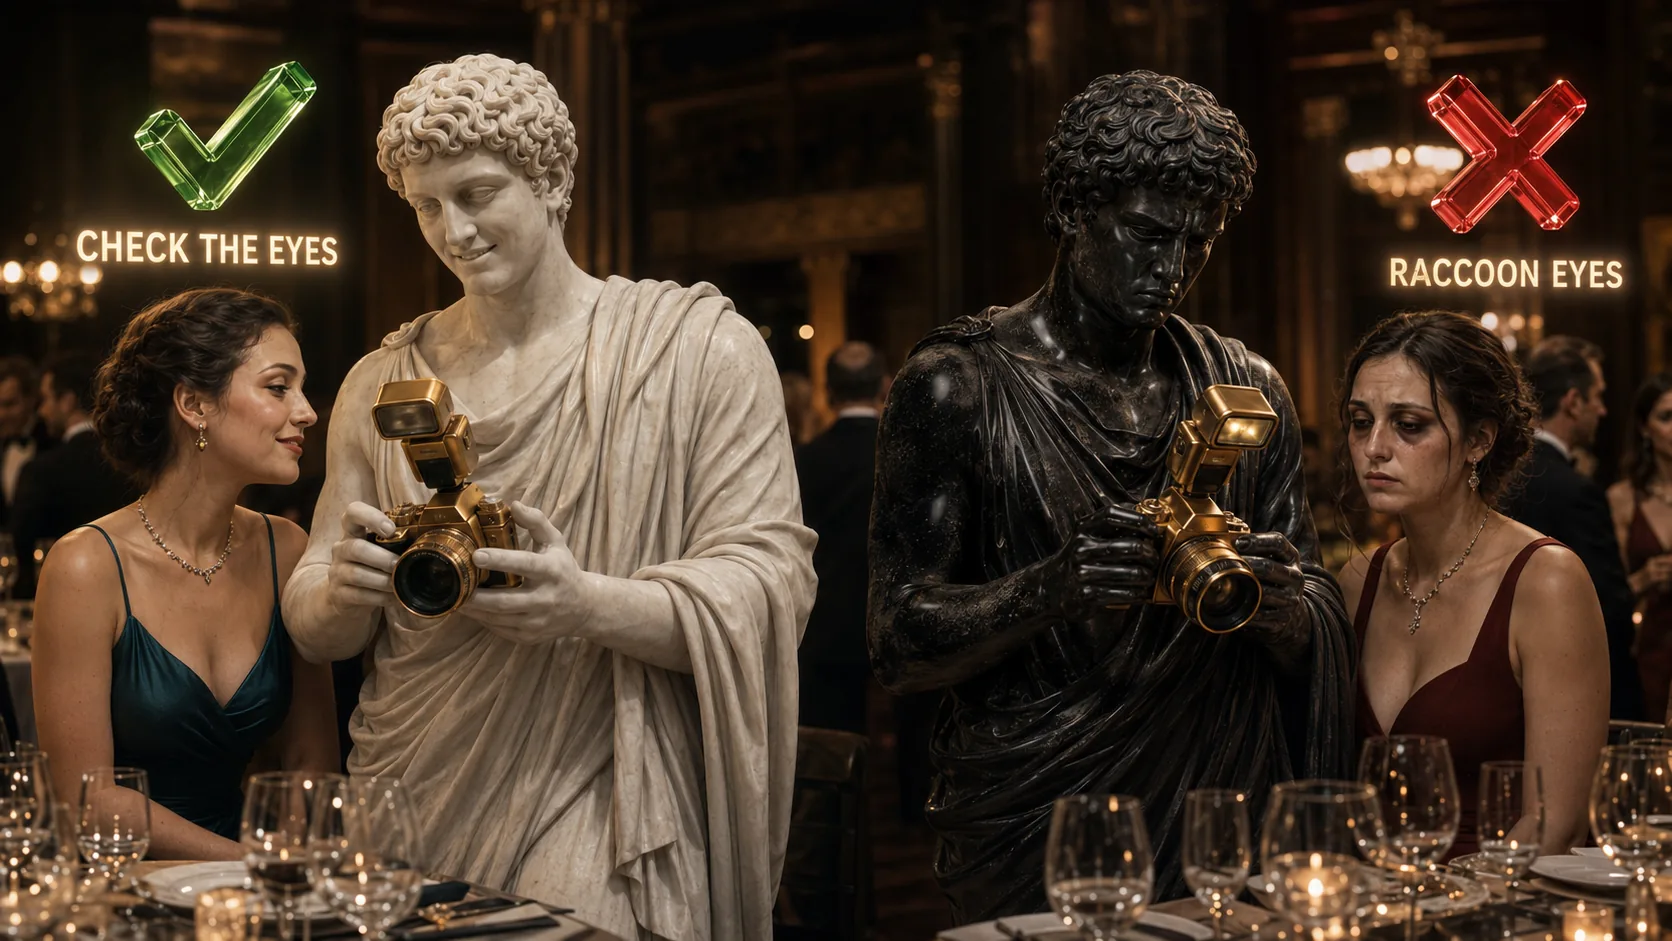
Before the guests matter, test the light. Look at one face. Are the eyes alive? Is the nose shadow clean? Does the room still feel like the room? If not, change the angle before you blame the flash, the camera, or yourself... because most of the time the fix is smaller, calmer, and far less dramatic than your panic makes it seem.
- walk in and look up
- pick the best neutral bounce surface
- shoot one test face
- check the eyes first
- adjust the angle before adjusting everything else
Want the Full Flash System?
Start with this: stop bouncing straight up. Bounce slightly forward into a neutral surface and judge the eyes, not just the exposure. That one shift alone saves a surprising number of bad event photos... especially when you are still learning what good flash is supposed to feel like. Eyes first. Exposure second.
If you want to go deeper into bounce logic, venue reading, TTL versus manual, drag-and-burn, and what to do when the room fights back, grab your own copy of Event Photography 101. The book takes these principles and turns them into a full working system. 📘