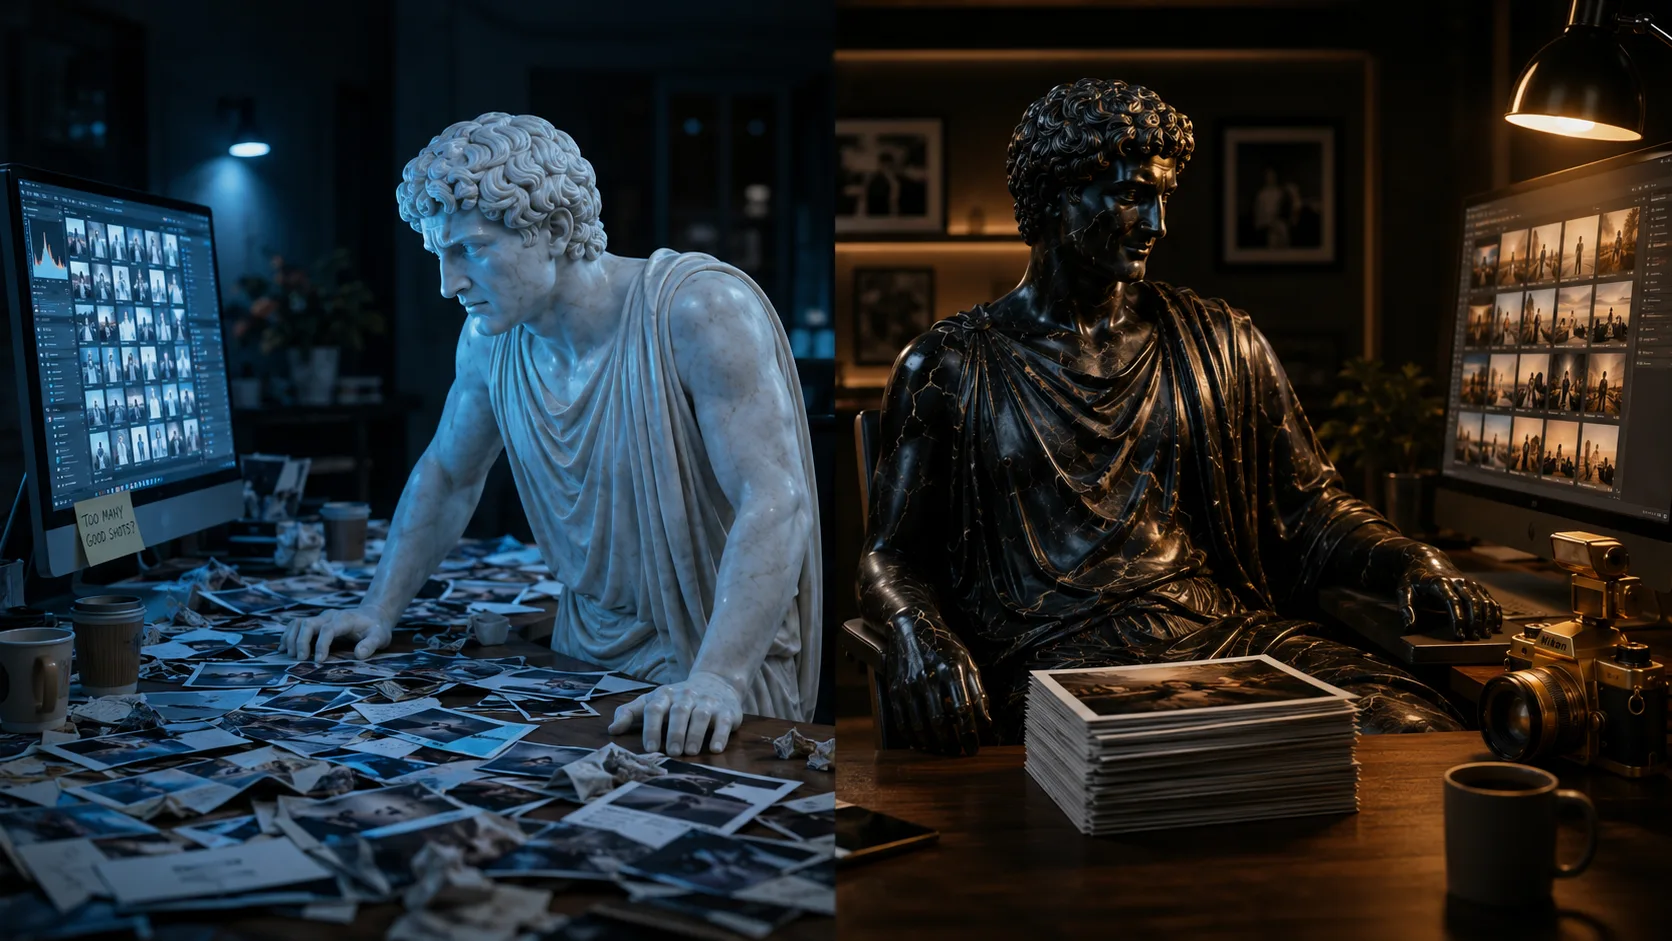
🗑️ You shot 1,200 frames. Now you are staring at Lightroom at 1am wondering if photo 347 is slightly warmer than photo 348. This is where most event photographers lose their nights. Not because editing is hard, but because nobody taught them the system. Culling and editing are not the same skill, and the order matters more than the software.
The carousel above is the cheat sheet version. What follows is the full system — the same one I run on every event, whether it is a 40th birthday or a 600-person corporate gala.
The Sorting Apples Principle
Think of culling like sorting apples in an orchard. You are not deleting photos — you are trimming the fat to find the shiny, ripe ones. The bruised apples (almost-great shots with small flaws) and the bad apples (out of focus, poor light, duplicated) go. What stays is a collection that makes the client feel something warm when they open the gallery, not tired from scrolling through filler.
The principle: a tight gallery feels more professional than a bloated one. It tells the client you care about quality, not quantity. The best albums feel curated, not crowded.
Pass 1: The Speed Cull (Eliminate the Obvious)
Move fast. Do not overthink. This pass is about technical flaws, not creative judgement. Remove:
- Blurry shots — gone, no exceptions
- Closed eyes — out, unless the moment is historically irreplaceable
- Five identical shots in a row — pick the one with the strongest emotion and ditch the rest
- Extreme underexposure — if RAW cannot rescue it, it is not worth your editing time
- Weird compositions — if the frame does not help the story, it is noise
Ask one question on every frame: does this help the story, or does it just add noise? Trust your gut. The first pass should take minutes, not hours.
Pass 2: Rate and Refine (Find the Keepers)
Now slow down. This pass is about emotion, faces, and storytelling. Rate with stars or flags — whatever helps you sort. Look for genuine smiles, natural expressions, clean light on faces. Faces are sacred. If a photo makes someone look awkward or unflattering, let it go. The client should feel safe in your gallery.
Separate your keepers into two piles. Money shots are the portraits, key formalities, and group shots that will be printed or shared — these deserve extra time and multiple variations. Snapshots are the roaming candids that document the atmosphere — they only need to clear the bar of being well-lit and in focus. Treat them accordingly.
The Anchor Frame Hack
Once the cull is done, the edit begins. Here is the biggest time-saver I can teach you: do not edit photo by photo. Instead, edit one anchor frame per scene or lens group until it is perfect. Test that edit on a second photo from the same scene. If it holds up, batch-sync those settings across the rest of the group.
Pitfall: never lazy-sync edits blindly across an entire event. Different rooms, different light, different ceilings. One preset will not work everywhere. Anchor per scene, not per job.
Shoot in RAW, not JPEG. A JPEG gives you 256 shades per colour channel. RAW gives you 65,536. That is the difference between a crayon box and a paint factory — and it matters enormously when you need to recover shadows or push highlights at an event.
The 80-90% Rule
Perfectionism is what keeps you at the desk until 2am. Here is the fix: for the vast majority of the gallery, hitting 80-90% quality is professional and sufficient. Clean exposure, correct colour, uniform tone. Reserve your detailed retouching for the 5-7% of VIP money shots — the portraits people will print, the moments that define the event.
The carousel below is proof: when you separate money shots from snapshots, you stop over-editing frames that were never meant to carry the gallery. The snapshots just need to clear the bar. The money shots deserve the extra minute.
The carousel above nails the distinction: a snapshot documents the room, an MVP defines the event. Your cull should reflect that hierarchy.
Polish for Grid Uniformity
The final polish is not about individual photos. It is about the album as a body of work. Stop looking at photos one at a time. Switch to grid view and scan for outliers — frames that are slightly too dark, too cool, or have strange skin tones. Make small nudges to bring them into harmony with the rest. The grid should feel like one cohesive story, not a patchwork of different moods.
Skin tones are the one thing viewers trust first. Make sure faces look healthy, flattering, and naturally warm. If the face reads wrong, the whole photo reads wrong — no matter how dramatic the background looks.
The Full 6-Step Edit Loop
Here is the complete loop, start to finish:
- Download and back up — three copies before you touch anything. Two local, one cloud.
- Cull — two passes. Speed cull for technicals, refine pass for emotion and story.
- Edit — anchor frame per scene, batch-sync, shoot RAW.
- Polish — grid view, check for outliers, unify skin tones and mood.
- Export — 300 DPI for print, 72 DPI for web, around 8MB per file.
- Deliver — through a professional gallery platform, with a Highlights or Top 30 section at the front door.
The takeaway: the gallery is built by what you remove, not what you fix. Cull hard, edit in batches using anchor frames, polish for grid uniformity, and stop chasing 100% on every frame. When you want the complete editing system — every setting, every shortcut, every principle — grab Event Photography 101. 📘