Why Flash Feels Terrifying (And Why It Shouldn't)
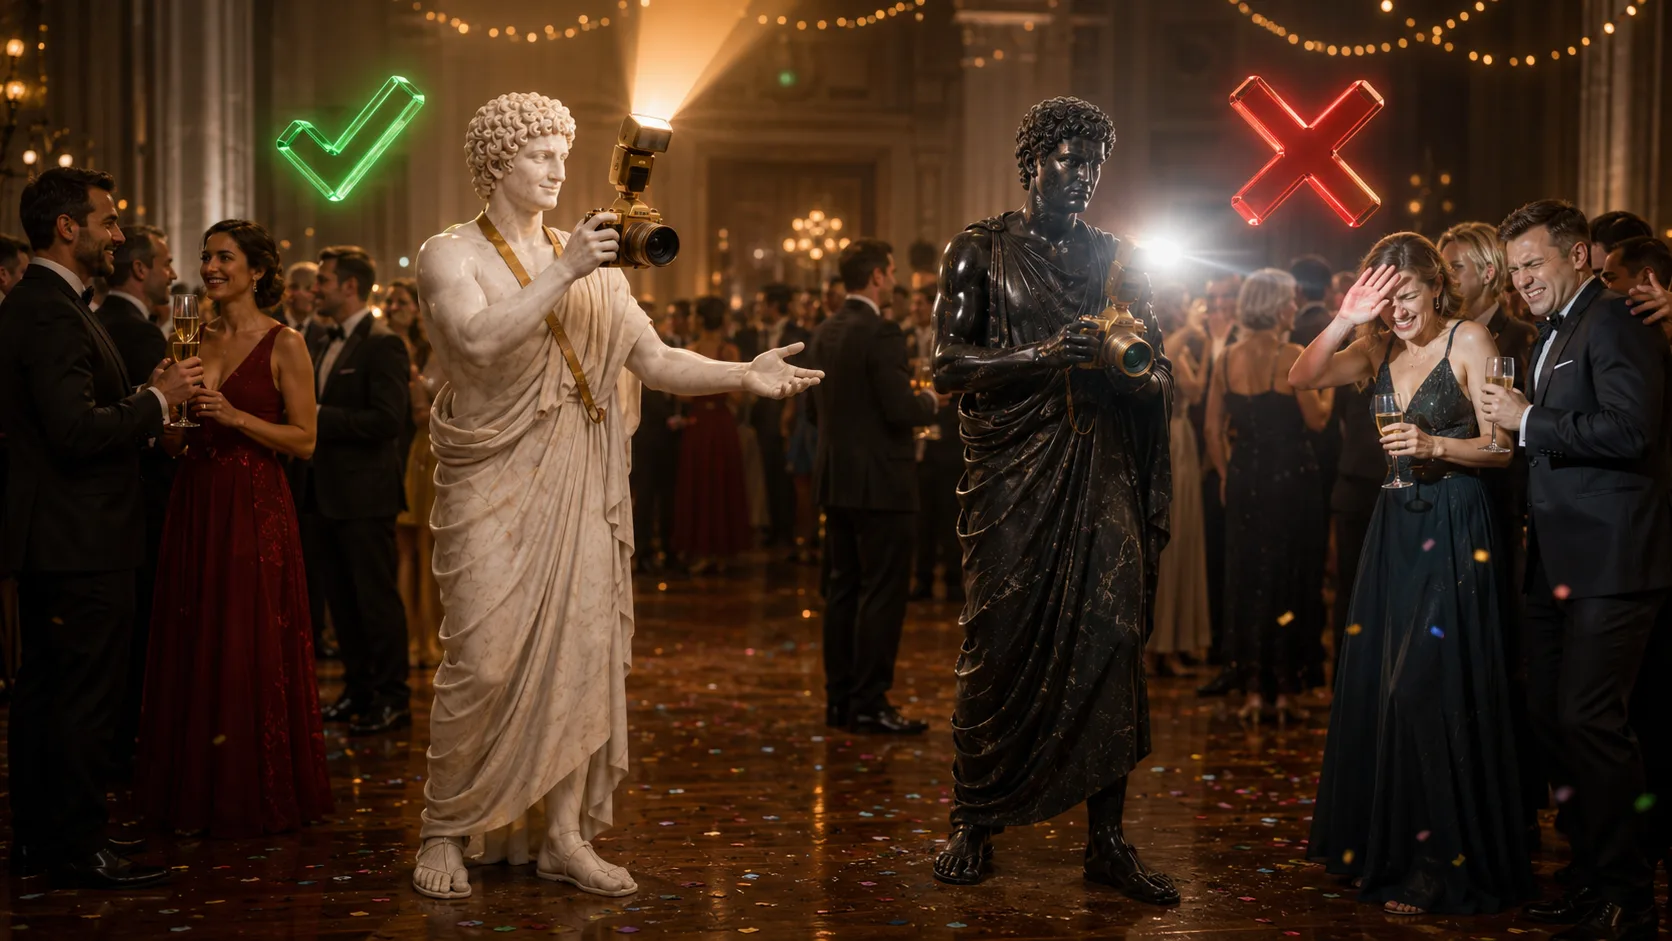
Most beginners are not afraid of flash because they are bad photographers. They are afraid because flash multiplies decisions. Faces can blow out, backgrounds can disappear, and direct flash can make lovely people look like suspects in a lineup. The fix is not more jargon. The fix is a cleaner mental model.
If you understand three ideas, flash becomes manageable fast: the cocktail, the blanket, and the room. The cocktail is the balance between ambient and flash. The blanket is bounce direction. The room is the set of surfaces that either help you or betray you.
The Cocktail: Balance Ambient and Flash
Think of every flash frame as a cocktail. Ambient light is the base spirit. Flash is the mixer. Too much ambient and the image goes muddy. Too much flash and it looks clinical and harsh. Your job is not to flatten the room. Your job is to keep the mood of the room alive while making the person readable.
That first mindset shift matters a lot. Stop asking, 'how do I brighten this?' and start asking, 'how much of this room do I want to keep?' Once you ask that question, your shutter, ISO, and flash choices start behaving like tools instead of panic buttons.
- 🥃 ambient = the mood of the room
- ⚡️ flash = the controlled lift on the subject
- 🎯 aim for balance, not domination
Your quick starting point
Start with a shutter that lets some room light in, an aperture that gives you enough focus for the subject, and ISO high enough that the flash does not need to do all the work. Then let the flash finish the job rather than dominate it.
The Blanket: Bounce Flash That Flatters
Direct flash is a spotlight. Bounce flash is a blanket. When you bounce into a neutral ceiling or wall, the light spreads out and returns soft, broad, and flattering. This is the move that makes a speedlight stop looking cheap and start looking intentional.
Your default indoor move is simple: look for a white or neutral surface and bounce toward it. If the surface is too dark, too high, or too coloured, stop forcing the bounce and change strategy. Half-committing to bounce is how beginners get the worst of both worlds.
The mistake to avoid
Do not bounce straight up and hope. Push/pull the bounce slightly forward/backward so the returning light wraps across the face instead of falling like a tired office downlight into the eye sockets.
TTL Versus Manual: Which One Should a Beginner Use?
TTL is your robot assistant. Manual is your locked-in decision. TTL is great when distances are changing quickly and you need fast help. Manual is great when the scene is stable and you want repeatable results. Neither is morally superior. They solve different problems.
For beginners, the cleanest workflow is this: use TTL to get moving, take a few test shots, then switch to manual once the room stops changing. TTL helps you start. Manual helps you stay consistent. That single distinction will save you a lot of confusion.
- 🤖 TTL = fast starting point
- 🧱 manual = repeatable result
- 📸 beginners usually need both... not blind loyalty to one
Drag-and-Burn: Stop Killing the Background
One of the ugliest beginner flash mistakes is the black-hole background. The person is bright, but the room is dead. Drag-and-burn fixes that. Slow the shutter enough to let the ambient glow stay alive, then let the flash freeze the person on top of it.
You do not need to overcomplicate this. Start around 1/30s and adjust from there. If the background is still dead, slow down. If the frame gets too messy, speed up a little. The principle is the prize: your flash should not erase the event it is supposed to document.
Read the Room Before You Shoot the Room
Every venue gives you clues before you even raise the camera. Look up. Look around. Is the ceiling low enough to bounce from? Is it white enough? Are there neutral walls nearby? Is the ambient warm, ugly, mixed, or beautiful? Those answers tell you whether to bounce, go direct, raise ISO, or drag the shutter harder.
This is one of the most professional habits you can build. Good photographers do not just react to frames. They read the room first, then choose the look on purpose.
- 👀 check ceiling height
- 🎨 check ceiling and wall colour
- 🪟 check for neutral bounce surfaces
- 🌙 check whether the room mood is worth preserving
The honest default when the room fights you
If the ceiling is black, the walls are red, or the venue is outdoors, stop chasing bounce. Use direct flash deliberately, soften it if you can, and focus on making it look intentional rather than apologetic.
The 4 Flash Mistakes to Stop Making First
You do not need twenty flash tricks yet. You need a few defaults that are easy to repeat under pressure. Remove these four mistakes first and your photos immediately start looking calmer, cleaner, and more expensive.
- 🚫 blasting direct flash with no thought for shape
- 🌑 using a shutter so fast that the room disappears behind the person
- 🎨 trusting bad bounce surfaces like coloured walls or ugly ceilings
- ⏱️ skipping test frames before the guests matter
Want to Go Deeper?
If this guide helped the fear drop, good. That is what it is supposed to do. But the deeper confidence comes from repetition, troubleshooting, and knowing what to do when the room stops behaving nicely... when the ceiling is ugly, the walls are useless, and the client still expects magic.
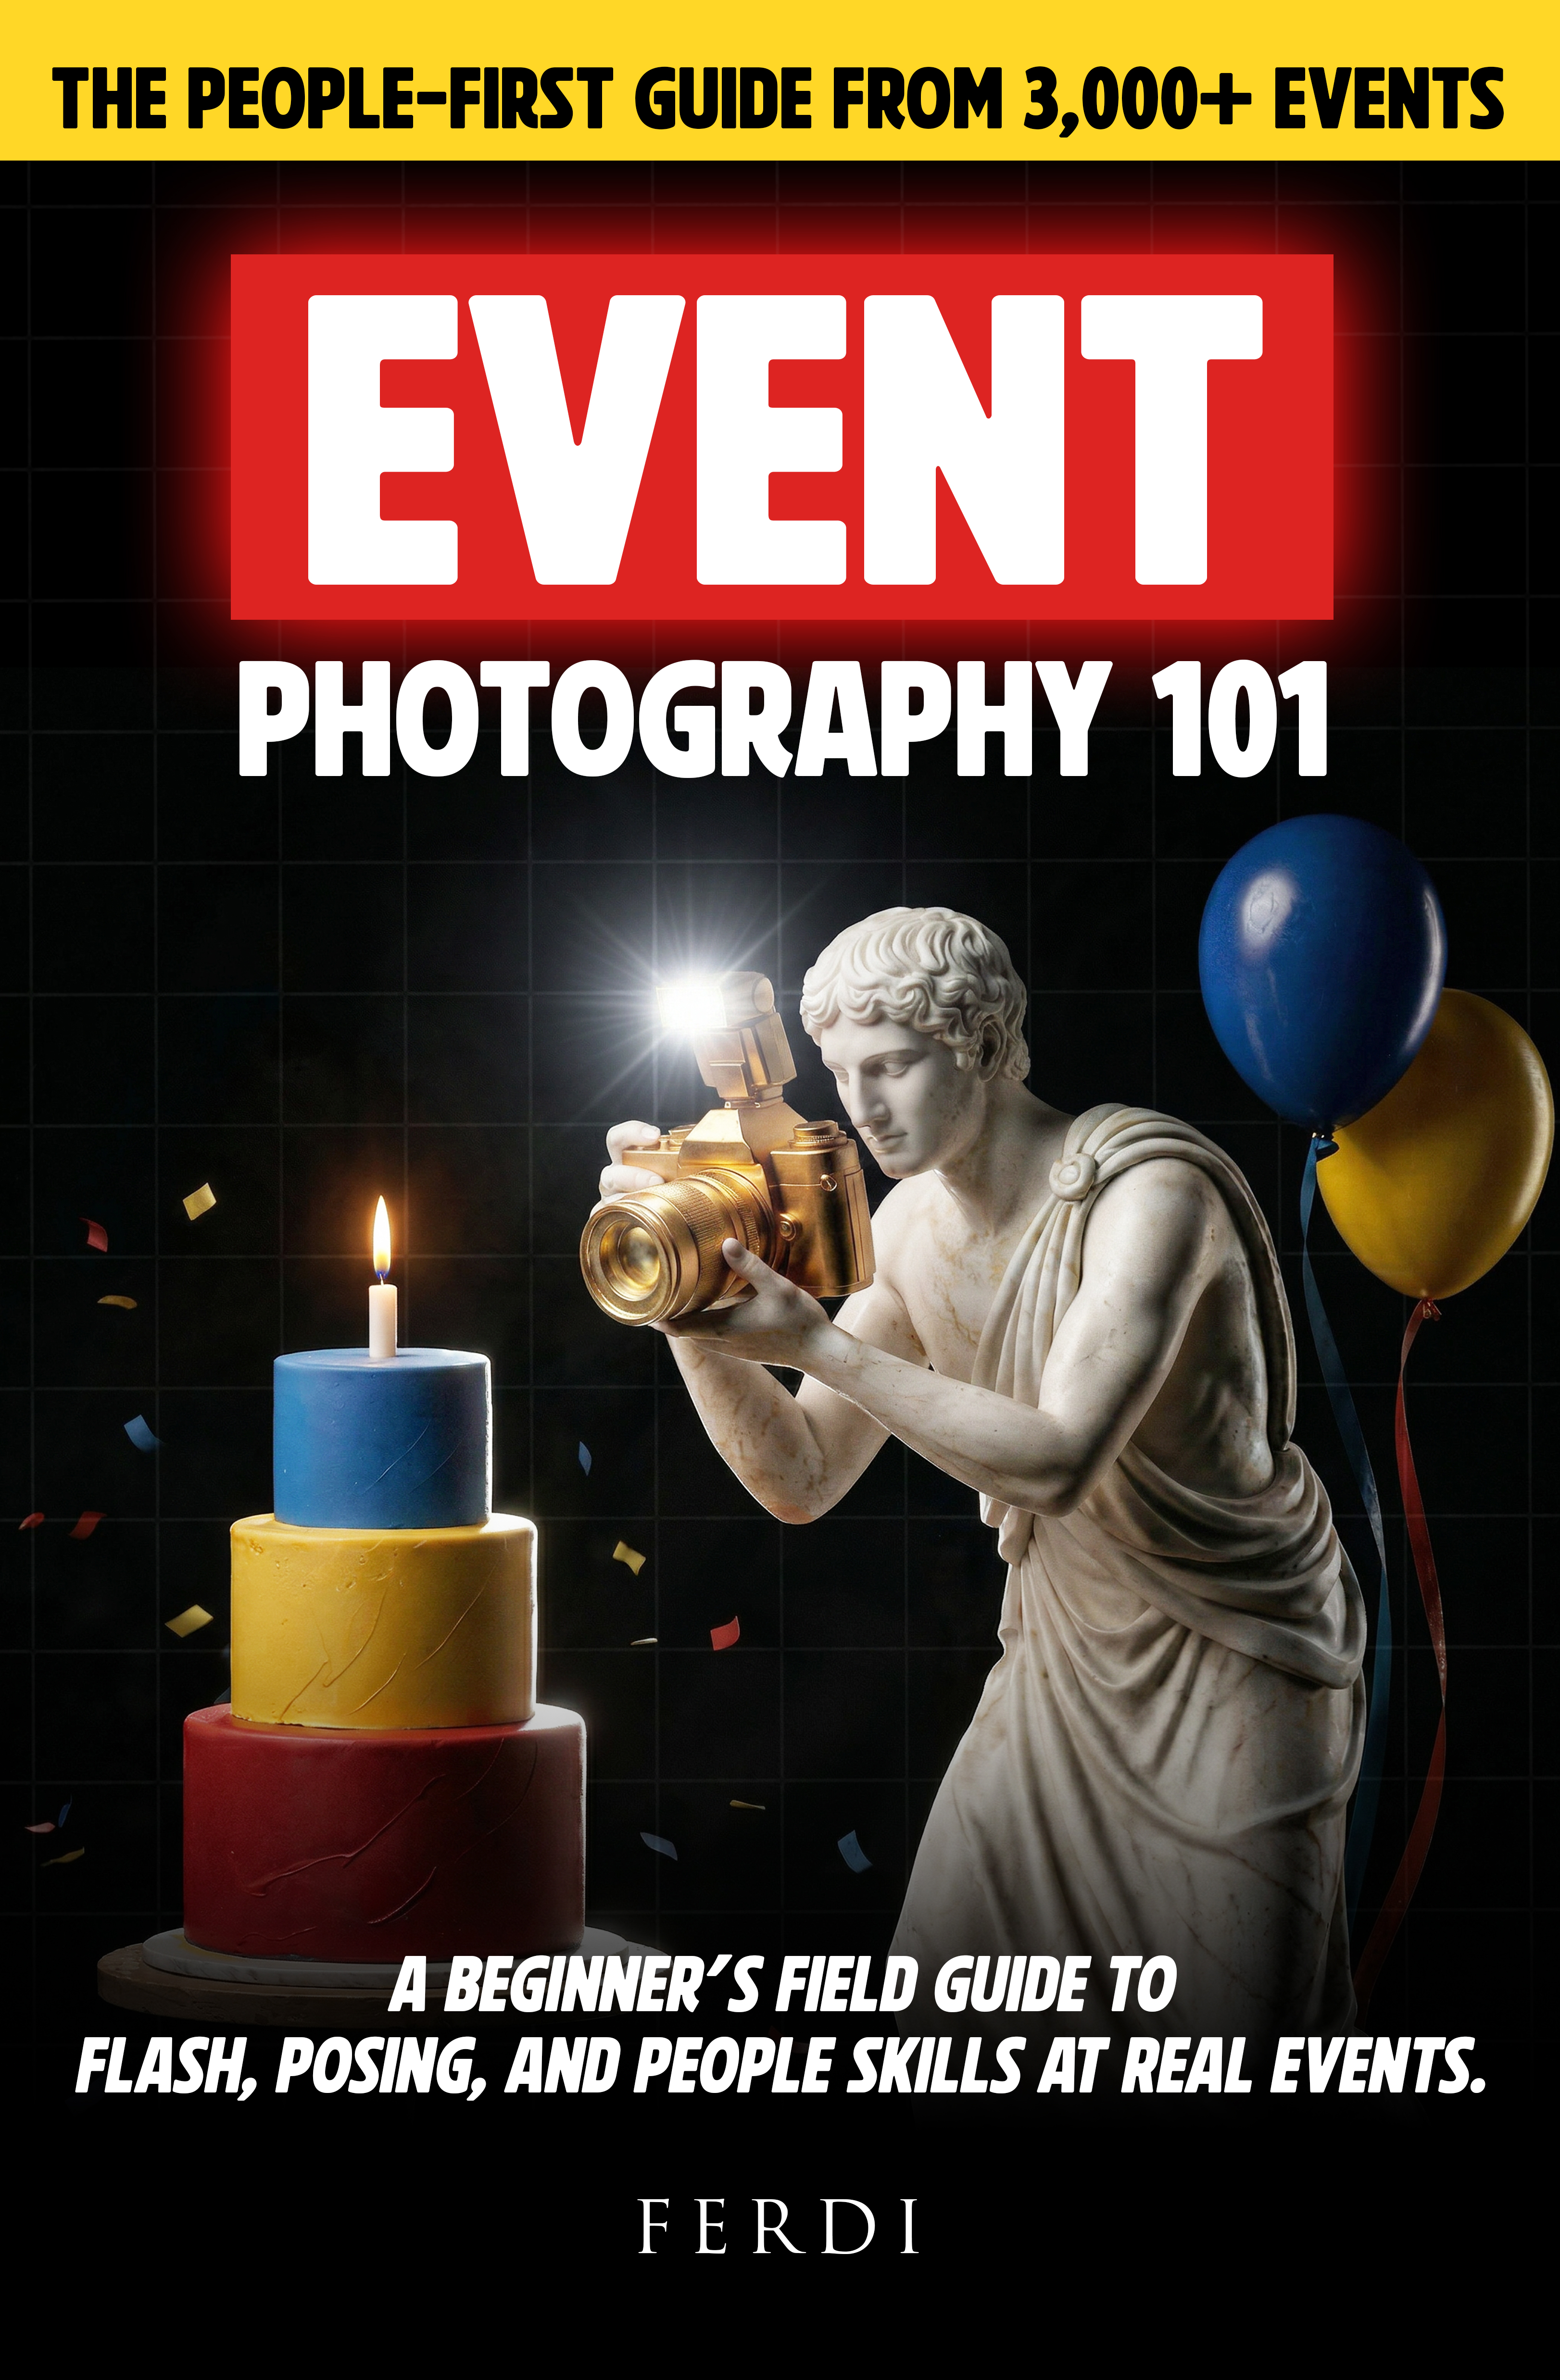
If you want the fuller flash system — bounce logic, venue-reading habits, TTL versus manual nuance, drag-and-burn control, and the exact decisions that rescue ugly rooms — get your own copy of Event Photography 101. That is where the deeper field detail lives.